


Slushe Tutorial Part 2: User Menu
- Media Highlight Image by artist DB|SPENCER
Editor Note: this tutorial was updated on August 8th, 2019.
In part 2 of the Slushe Tutorial series we explain what the options in the User Menu do. You can read the previous part of the Slushe Tutorial series here:
PART 2: USER MENU TUTORIAL STARTS HERE
USER MENU
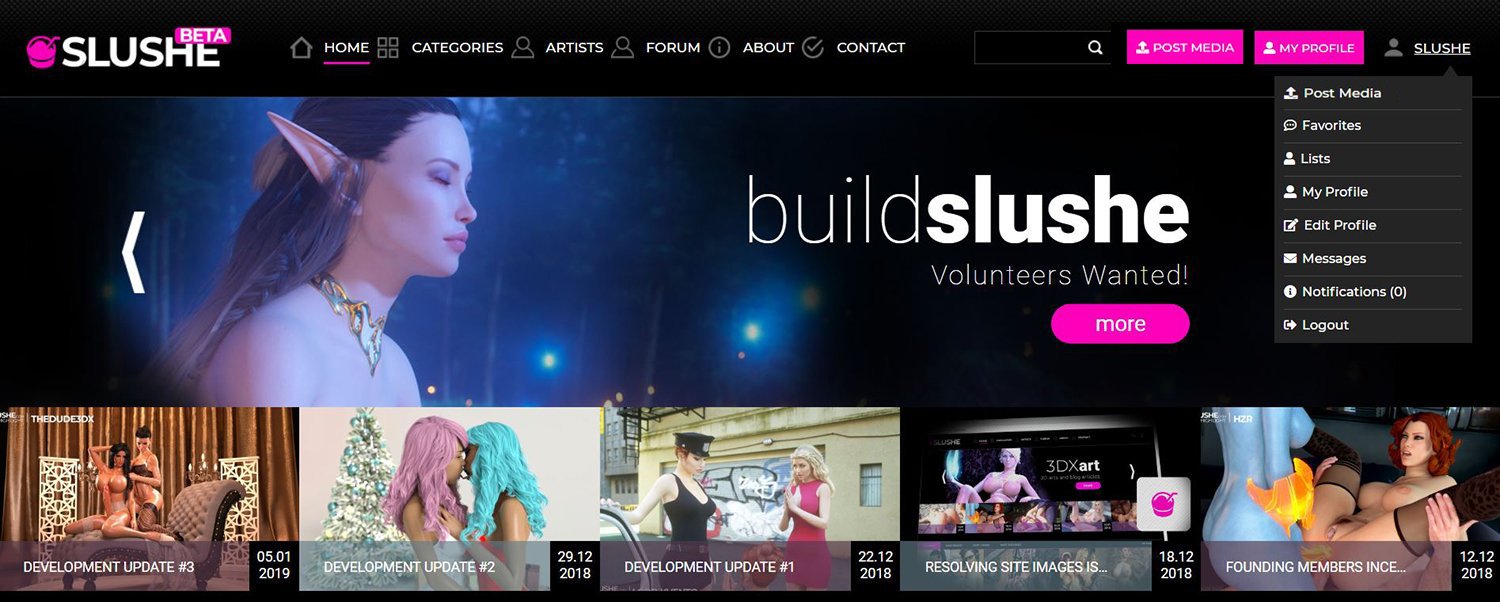
Click on your username to open the User Menu in the top right corner of the site. (See example above.) In the user menu you’ll find these options:
- Post Media
: opens a new modal window for artists to upload media (= gallery posts). We discuss this feature in further detail in Part 4: Create Gallery Posts.
- Favorites: opens a page that displays all the gallery posts you’ve added to your Favorites list.
- Lists: opens a page where all your Lists are stored. Slushe’s Lists feature allows anyone to create Lists to which they can add their favorite gallery posts. The Lists you create will display in your public profile under My favorite lists. Other users can click on your Lists to view the content and and they can follow your Lists.
Editor Note 2019/08/08: The Lists feature is currently still a work in progress. We’re currently in the midst of improving its functionality.
HOW THE LISTS FEATURE WORKS
- Click the List button. A new modal window will open as shown in the example images below:

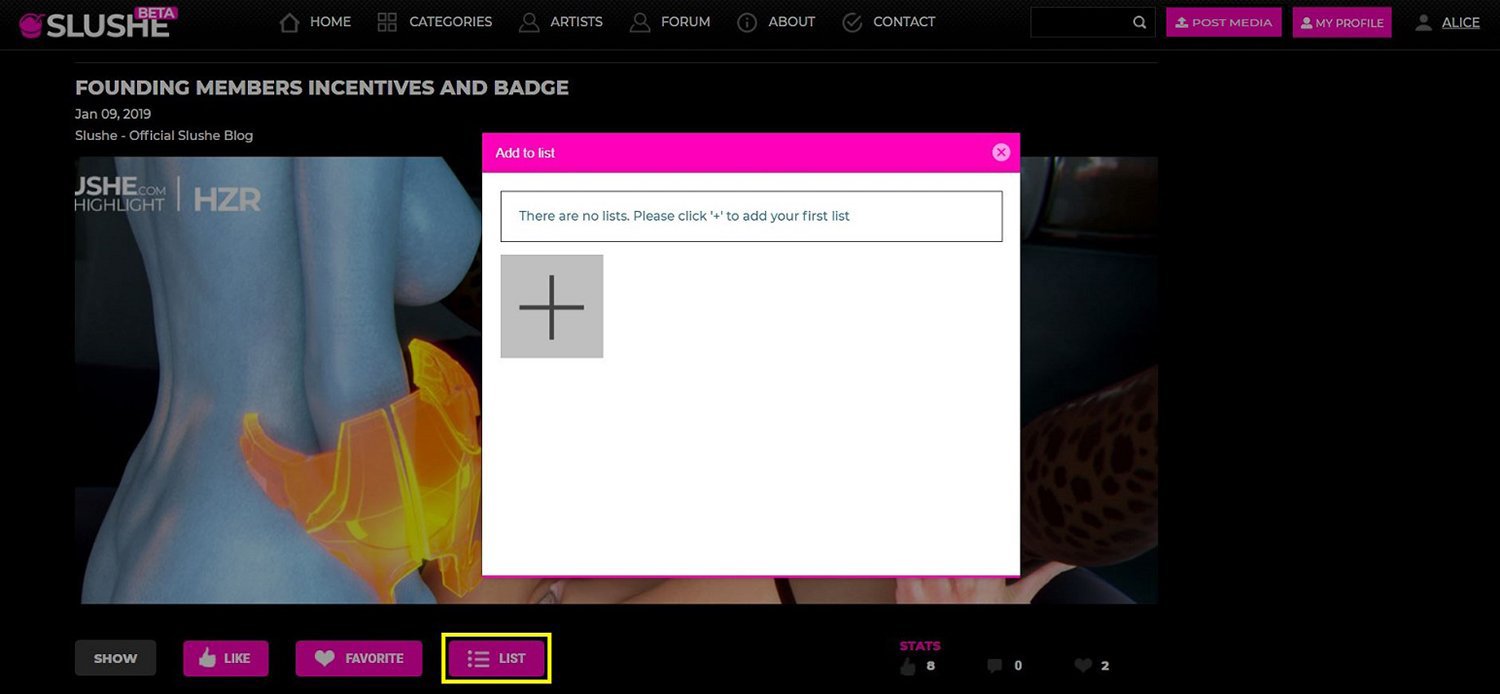
- Click the + icon to create a new List.
- Slushe will ask you to enter an appropriate title and to upload a thumbnail image for the List. The recommended dimensions for the thumbnail image are 150 (h) x 150 (w) and the thumbnail size limit is 512kb in GIF, JPG or PNG format. Click Save when you’re done.
- With the modal window still opened, click the thumbnail image or title of the List to which you want to add the gallery post.
- Slushe will confirm that the post has been successfully added to your List.
Editor Note 2019/08/08: currently you can only create a new List through the modal window that opens when you click the List button.
Once you have added some gallery posts to your List, your Lists page will look something like this:
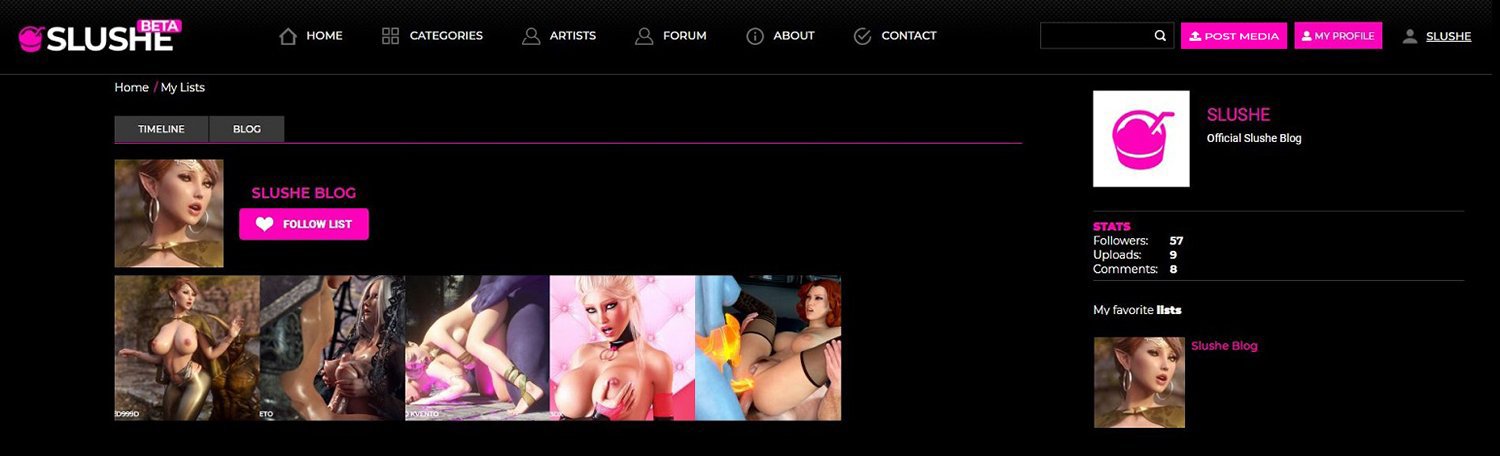
Up to 6 thumbnail images will display under your List. If you click on a thumbnail, the original gallery post will open. If you’ve added more than 6 gallery posts to your List, a More button will appear underneath it. Click the More button to view all the posts in your List.
- If you click Follow List, the gallery posts inside the List will show up in the Timeline feed on your profile page. If the creator of the List adds more posts to their List, those posts will also appear in your Timeline.
Editor Note 2019/08/08: currently it’s not possible to remove a gallery post from a List.
Editor Note 2019/08/08: currently you can only delete an existing List through the modal window used to create Lists. Click the List button on any post to open the modal window, then click the pink ‘X’ icon displayed next to the List’s name to delete it.
REMAINING USER MENU OPTIONS
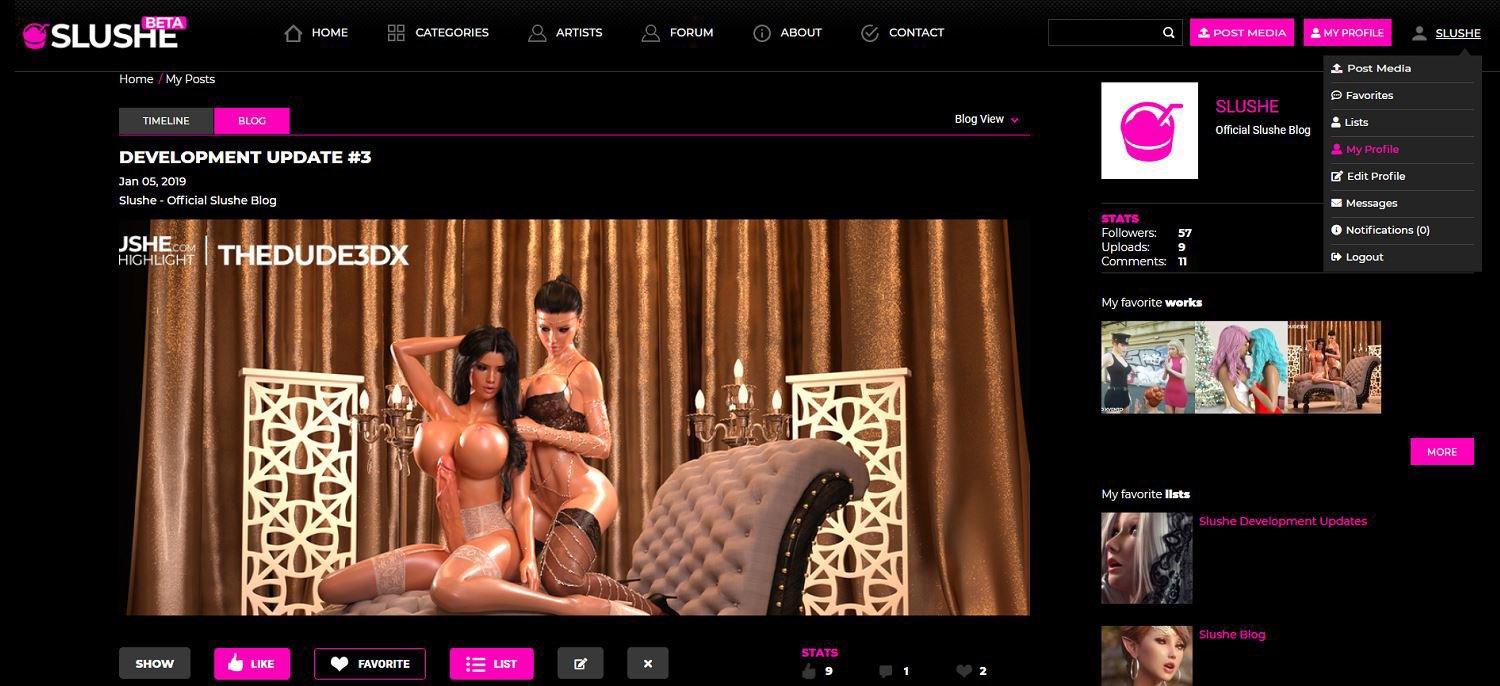
My Profile - opens your public profile page. On the left side of your screen, you'll see the Timeline and Blog tabs. For more info about the Timeline and Blog, check Part 1: Site Navigation. On the right side of the screen is your public profile. (See example above.) When other Slushe users open one of your gallery posts, they will see your public profile displayed next to the post.
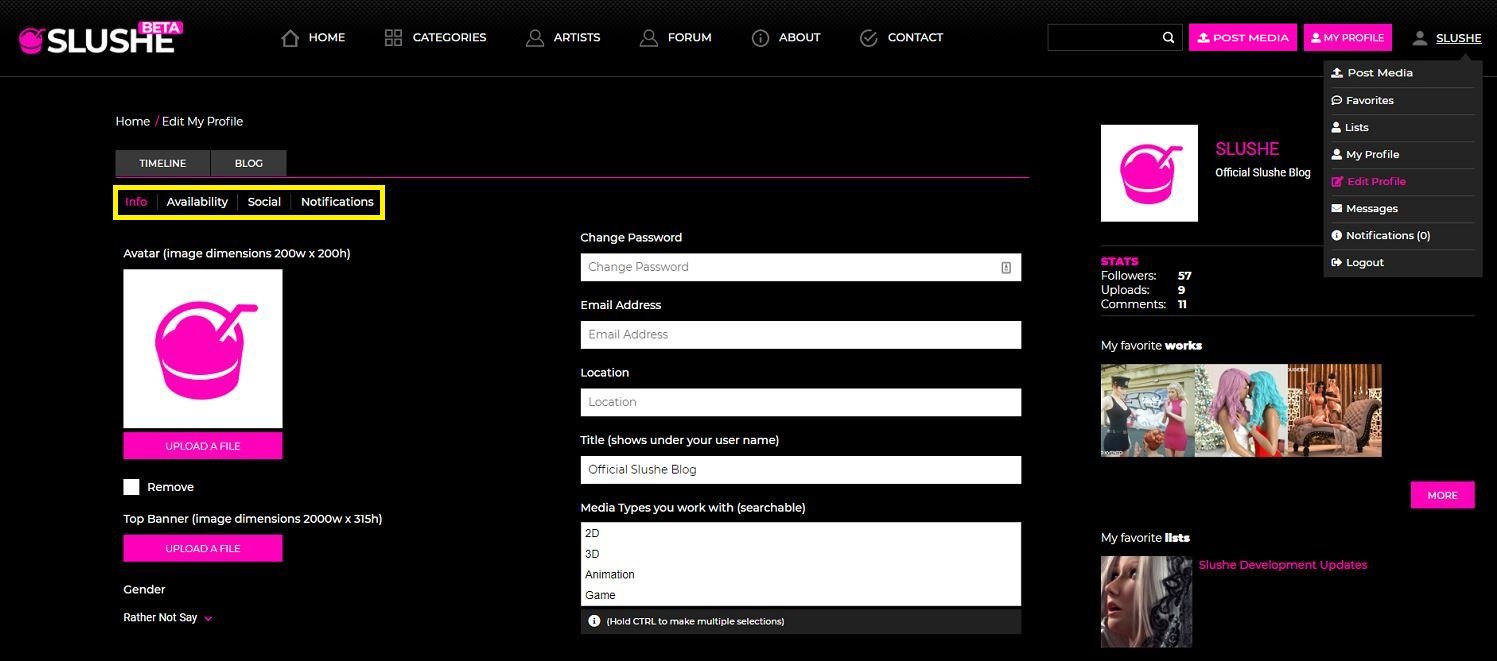
Edit Profile - opens your profile page editor. (See example above.) Here you can edit your account information and your public profile information. The profile editor page consists of 6 sections: Info, Availability, Social, Categories, Notifications and Newsletters. We'll discuss these sections in more detail in Part 3: Edit Profile.
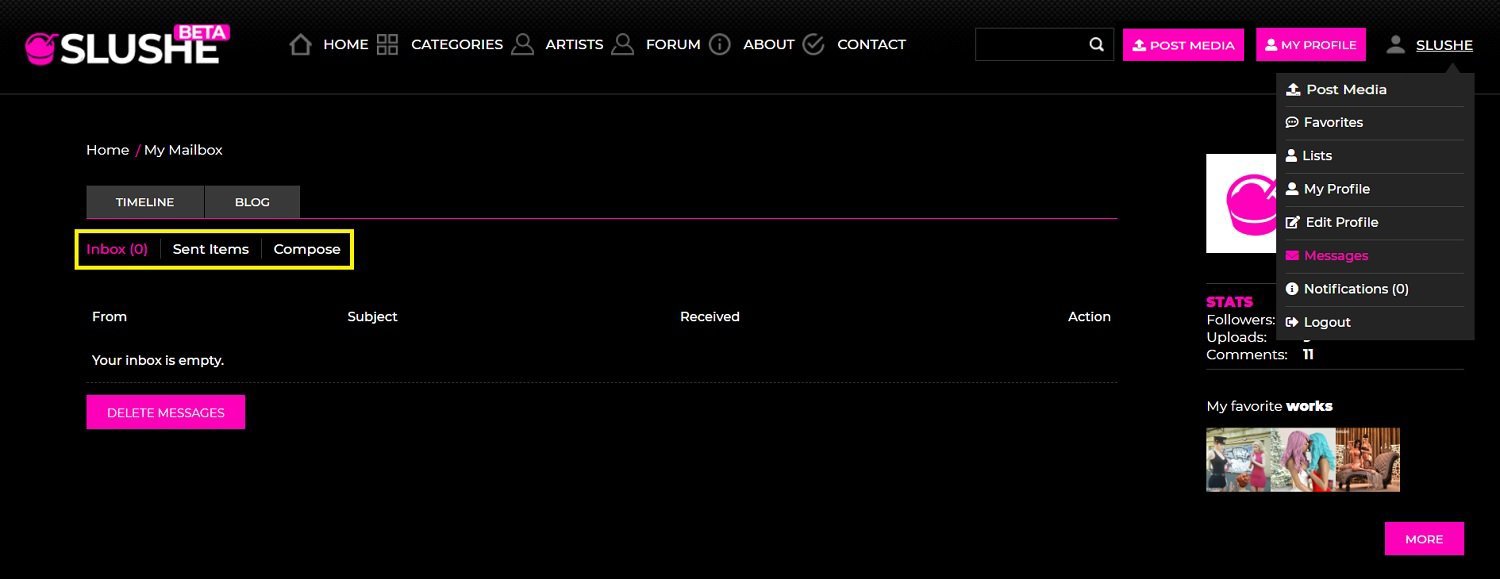
Messages - redirects to your Slushe inbox. (See example above.) The Messages page consists of 3 sections: Inbox, Sent and Compose. You can check your received and your sent messages here, and you can compose new messages.
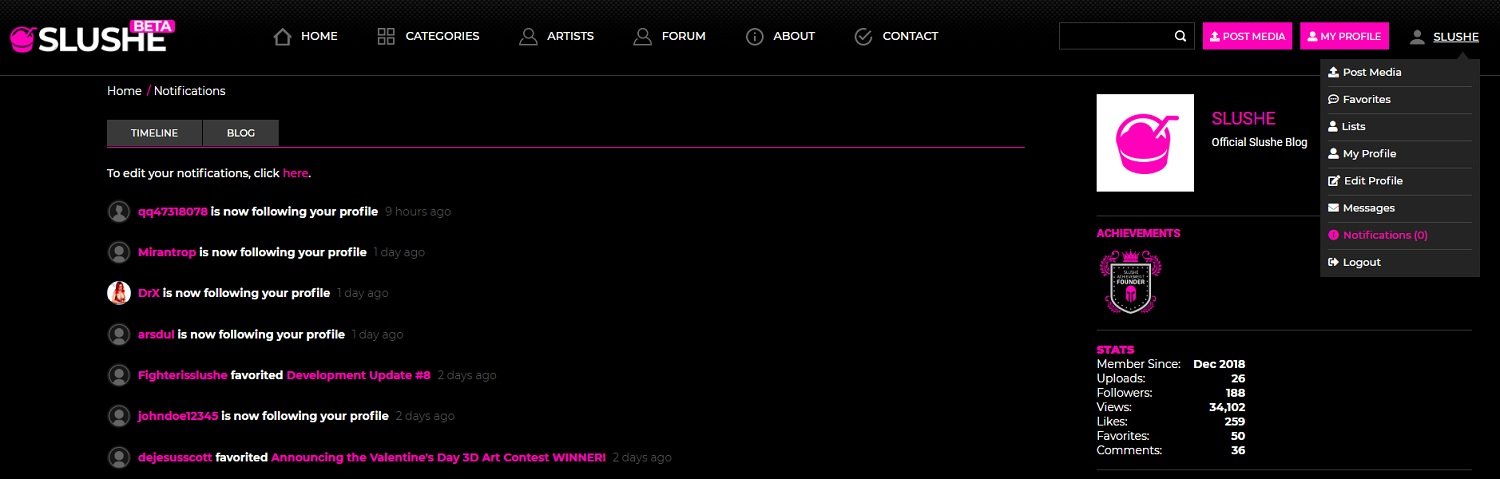
Notifications - here you see site notifications of actions performed by other users. (See example above.) You receive a site notification when another user:
- sends you a private message
- follows your profile
- comments on your content
- replies to one of your comments
- likes your content
- favorites your content
- lists your content
Please note that when you receive a new site notification, you will be alerted by a sound effect. A counter beside your username keeps track of the number of notifications. By default your Slushe account is set to send you all site notifications - except for likes on your content - but you can turn off site notifications if you want to. To personalize your site notification settings, click here.
That’s it for part 2. If you’ve still got any questions about the User Menu or if there’s another topic you’d like us to include in this tutorial, feel free to leave us a comment!
You can read the previous part of the Slushe Tutorial Series here:
MEDIA HIGHLIGHT BY ARTIST: DB|SPENCER
The media highlight image is part of the image set Jerica, Late in the Day. Be sure to check out DB|SPENCER's other content and give their user profile a follow if you like what you see!
Do you want to add items to list ?