


Slushe Tutorial Part 4: Create Gallery Posts
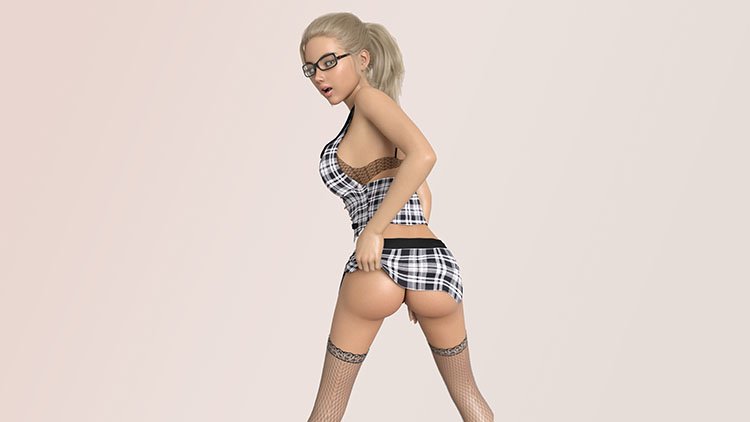
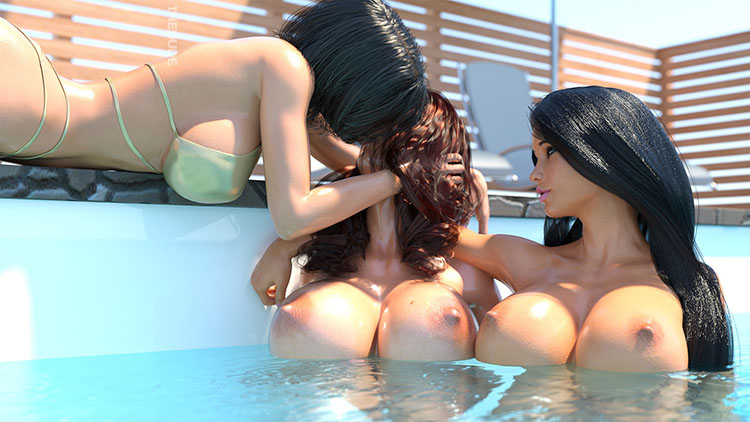
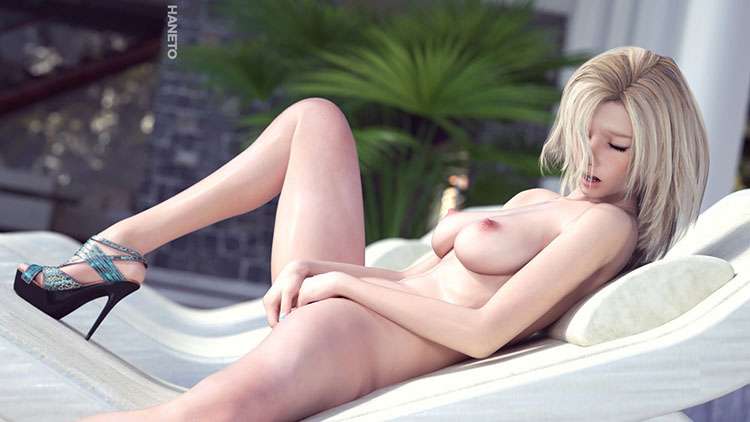
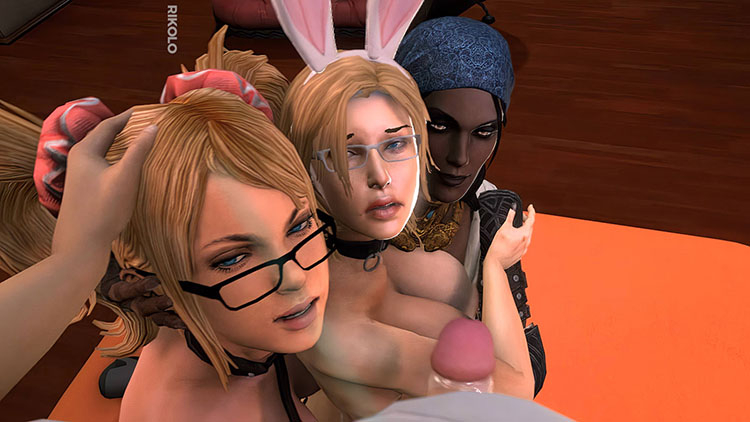
- Media Highlight image by artist MadeInLC
Editor Note: this tutorial was updated on February 8th, 2019.
Artists, get ready to take some notes. In this part of the Slushe Tutorial series we’ll take a look at all the steps involved with getting your artwork showcased in Slushe’s gallery. Fans and visitors, if you’re not planning on joining the creator camp anytime soon there is no need to read this tutorial.
Editor Note 2019/01/29: we are thinking of implementing features in the future that are accessible to all users, such as blog posts, reblogs, etc.
You can read the previous parts of the Slushe Tutorial Series here:
PART 4: CREATE GALLERY POSTS TUTORIAL STARTS HERE
CREATE A GALLERY POST
- Read Slushe’s Site Rules before you start posting to the site.
- Click the large pink Post Media button in the top right corner of the site. A modal window will open. (Alternatively, you can also click on your username to open the User Menu and click Post Media there. It opens the same modal window.) See example below:
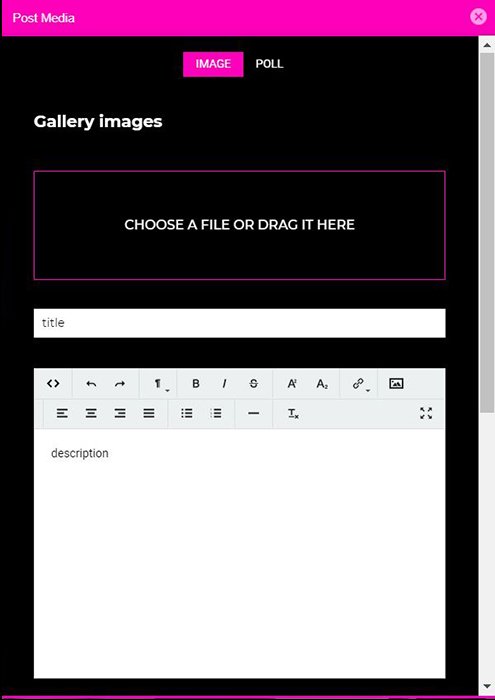
- Currently you can create Image posts and Poll posts. In this tutorial we will only focus on image posts. Make sure IMAGE is selected.
- Upload one or multiple image files by either dragging and dropping them from your desktop into the box that says Choose a file or drag it here, or click on the box itself to open a new modal window in which you can select files to upload. See example below:
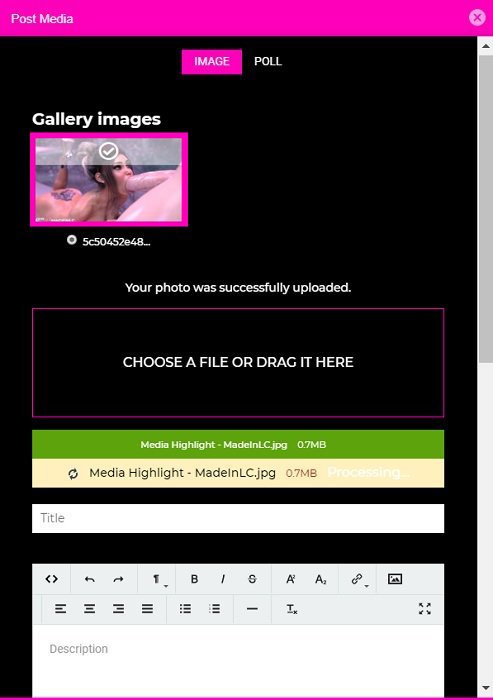
- While your image file uploads, the uploading progress bar will be yellow. Once your file has been fully processed, the bar will turn green.
OTHER (REQUIRED) FIELDS
- Title - you must give your post a suitable title. The character limit for the title is 100 characters.
- Description - optional field. Add a description about your artwork if you wish.
- Select categories - select at least one appropriate category for your artwork. You can select up to 15 categories.
- Tags - optional field. Enter tags that are relevant to your artwork. Your tags must be separated by commas. The character limit for the tags field is 250 characters.
- Select Filter - select one appropriate filter for your content. By default the filter will be set to Straight. Editor Note 2019/01/29: the functionality and available options in the Filter are currently under review. We may make changes in the future.
- Click the Upload Now! button at the bottom of the modal window to submit your artwork to the site. A pop-up notification will appear to confirm that your post has been successfully published.
POST MEDIA AUTO-SAVES YOUR DATA
To prevent data loss in the event of any (accidental) misclicks, the Post Media form auto-saves any text the user enters and any selections they make for:
- Title
- Description
- Categories
- Tags
- Filter
The form remembers this data for up to 30 days until the user clicks Upload now! at the bottom of the form. Users can safely close the form and reopen it at a later time to continue editing their post. Please be aware that uploaded images are not auto-saved.
There. That wasn’t so hard, was it? Now we assume that you’ll be able to create gallery posts just fine, but at some point you may decide to edit one of your posts or perhaps even delete it. So let’s talk about editing your existing posts.

EDIT A GALLERY POST
Go to your profile page to view your post through the Blog or Timeline tabs. The Edit and Delete buttons are listed at the bottom of your post. (See screenshot above). Please keep in mind that you only have access to these buttons when you're viewing posts in Blog View. In Gallery View the buttons are unavailable.
HOW TO EDIT
Click the Edit icon to be redirected to the post editor page.
- At the top of the page you’ll see the thumbnail images of all the image that are currently part of your gallery post. If a thumbnail image has a checkmark and a pink border around it, it means that it is the featured image. The featured image is the image that will be presented in the Slushe homepage gallery, the Timeline and the Blog feeds.
If you have multiple images in your post, you can change the featured image by selecting a different image.
- There’s a Trash can icon listed above each thumbnail image. Click the trash can to delete an image from your gallery post. (You cannot delete a featured image.)
If you delete an image, it will be removed from your post immediately. It is not required to click ‘Save' first. Clicking ‘Cancel’ at the bottom of the page after deleting an image will not undo this action. Be careful.
- The file uploader is available right below your thumbnail image(s). Feel free to use it to add new images if you wish.
- Below the file uploader you can edit the current Title, Description, Tags and Categories of your post. Click Save to submit any changes you made to your Title, Description, Tags, or Categories when you’re done editing. The changes will be visible immediately after saving.
HOW TO DELETE
- Click the Delete icon. A pop-up notification will appear, asking you to confirm whether you really want to delete the post. If you do, click OK.
Please beware that once you have deleted your post it is gone forever. We won’t be able to retrieve it for you. Be careful.
And that’s all we have to say about creating gallery posts for now. If you still have any questions about creating and editing gallery posts, or if there is another topic you would like us to include in this tutorial, please leave us a comment below.
You can read the previous parts of the Slushe Tutorial Series here:
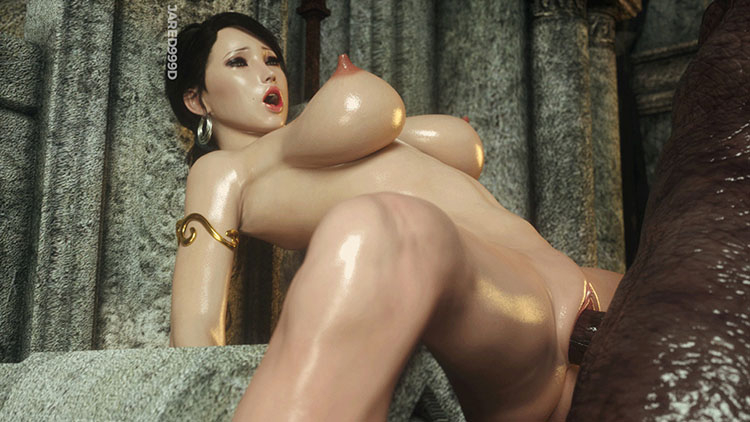
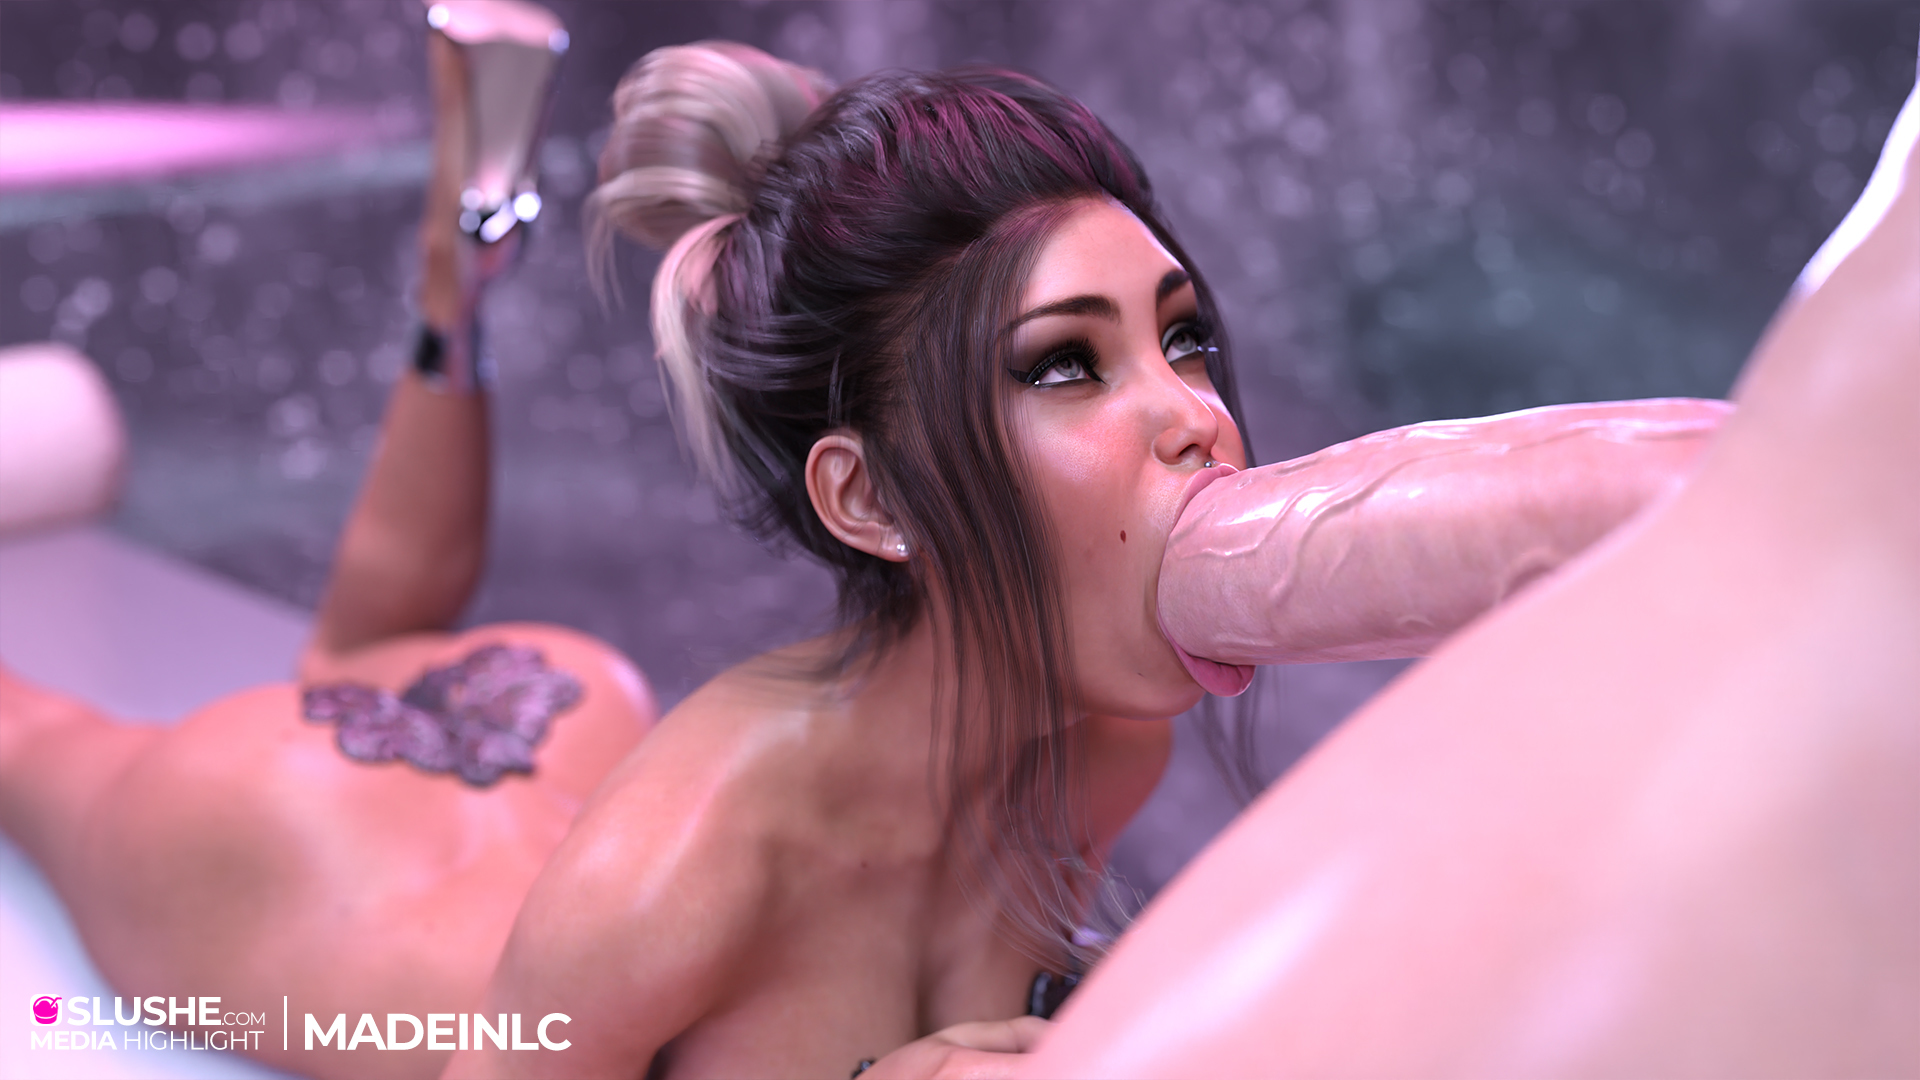
MEDIA HIGHLIGHT BY ARTIST: MADEINLC
The media highlight image is of the art piece Z&A Together 4K - Blowjob #1 (View 1). Be sure to check out MadeInLC's other creations and give their user profile a follow if you like what you see!
Do you want to add items to list ?